
Have you ever tried to animate your website? How about some text for a video or some other creative work? It’s a terrible experience unless you’ve trained yourself and committed a significant amount of time to learn. Fortunately, for people like me (and probably you, right?), it’s possible to add animations to images, text, and more without any technical skills. No 16 hours Udemy courses necessary. Let’s take a look at how that’s possible.
We’re going to be using Figma for the designs that will be animated, and we’ll use Jitter to animate our designs.
Adding motion design to Figma files is now super fast and easy
Getting Started with animation in Figma

Figma has become a powerhouse in the design industry. What had once been the exclusive domain of Adobe is now an open ecosystem of many different tools, with Figma leading the way on the web side of things. Figma has also made sure to foster a wonderful community of creatives and people who support creatives. At Jitter, we are both creatives and support creatives. This is why we’re going to walk through how to use Jitter to add some slick animations to your Figma files.

You may already have some Figma design files that you want to animate. If not, Figma has a great community with plenty of examples you can duplicate to get started. I’m going to use this landing page template from SaaSDesign. Even if you don’t use this exact template, you should be able to follow along and apply what we do to your own files.
Use designers' favorite Figma plugin for motion
Once you’ve duplicated the template, you’ll find many components in there. I’m going to focus on the full Landing Page components (titled 'Landing Page – 2'):

Now, before we can animate anything, we need to create a Jitter account. You can do that easily here. Once you’ve created an account and have logged in, you’ll see a page like this:
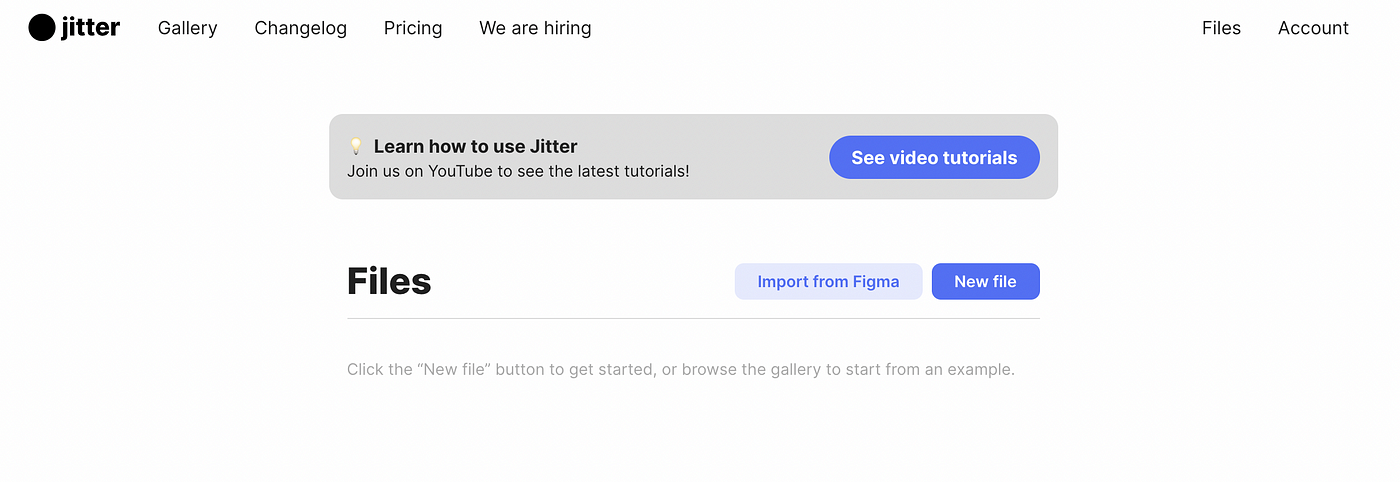
Click the Import from Figma button. This will take you to Figma’s community plugins page for Jitter.
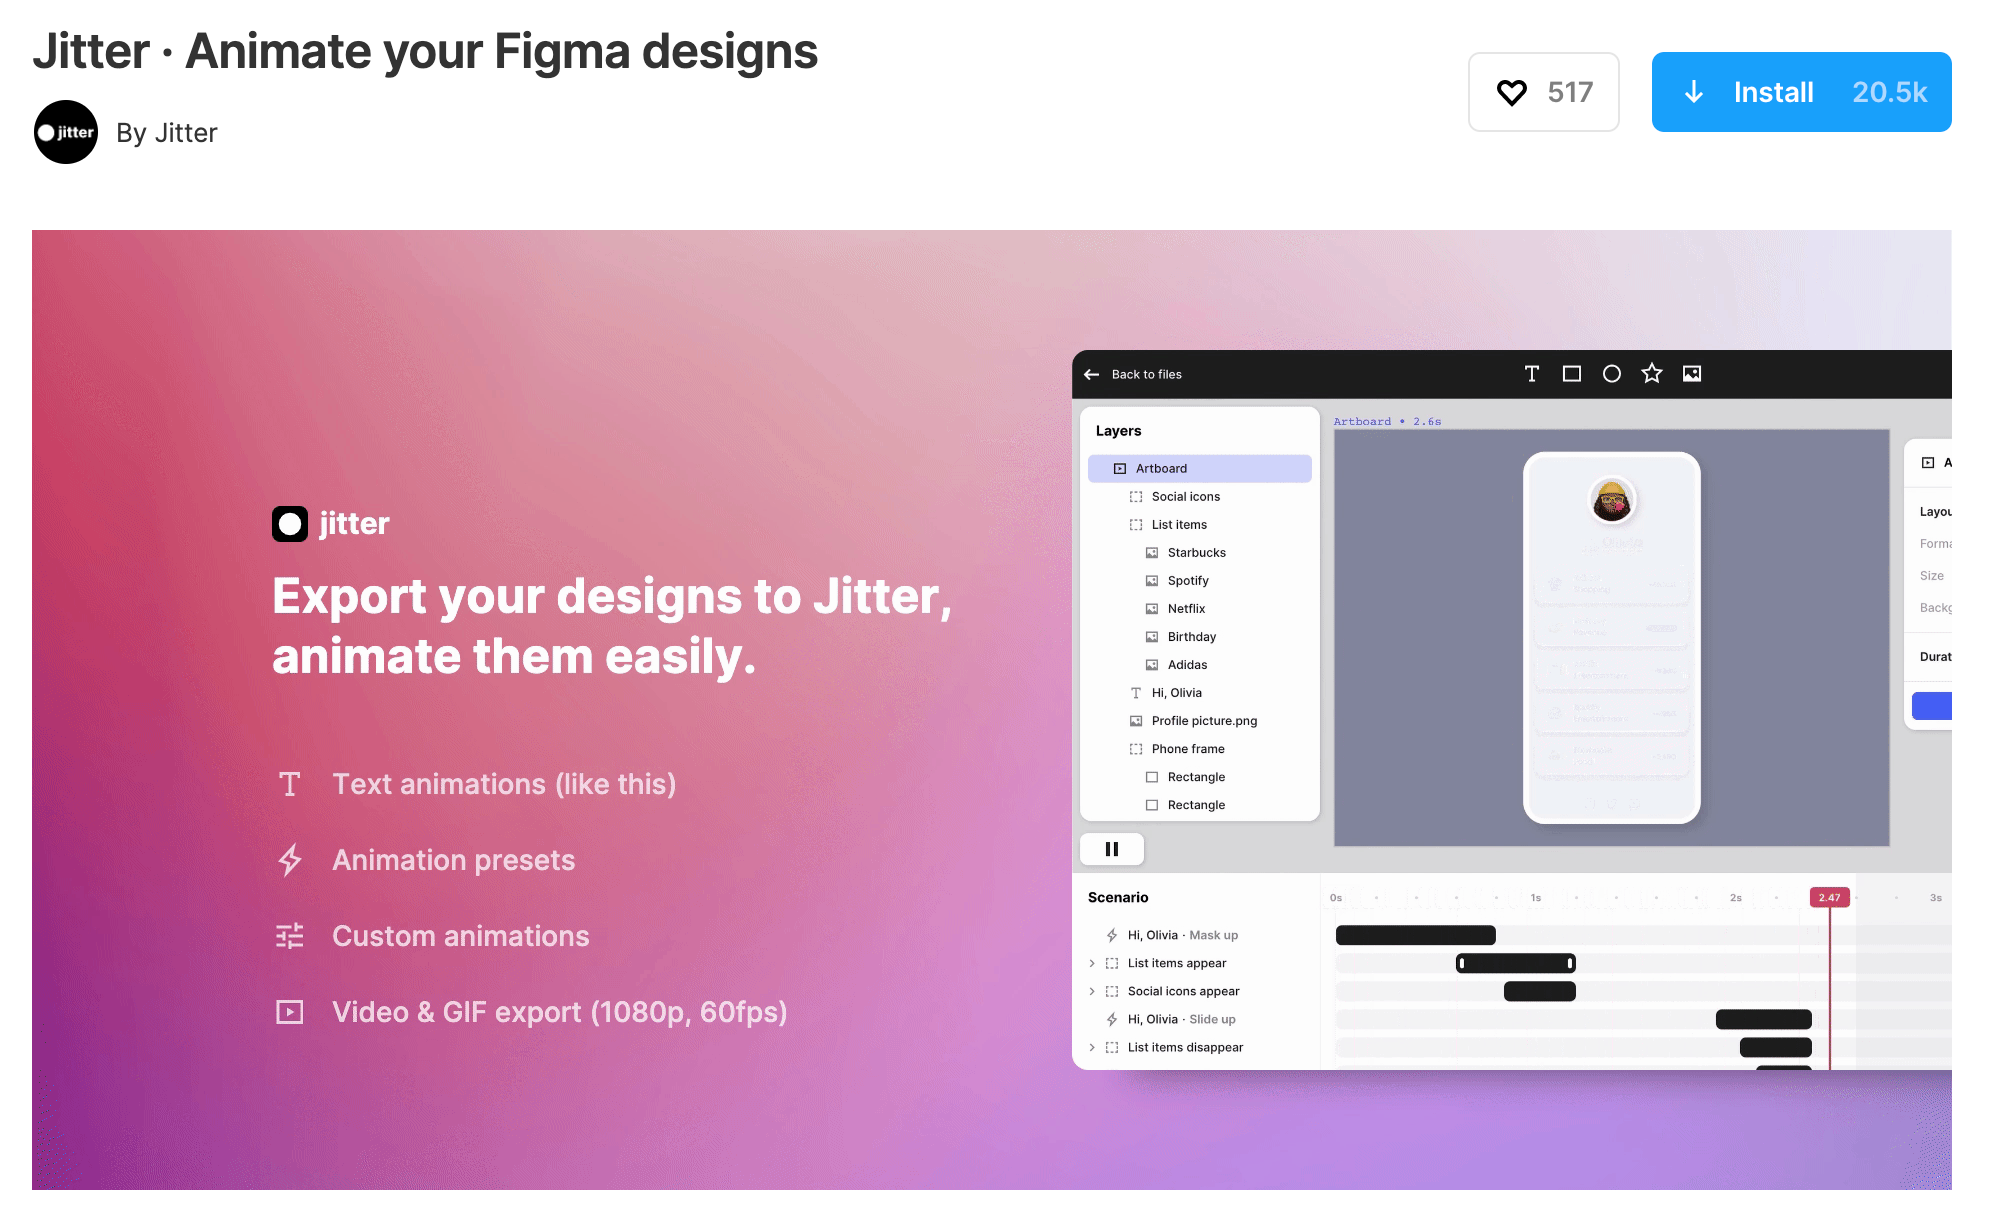
Click Install and you’ll be on your way! You can also install Jitter plugin directly from Figma:
Export your file to animate your components
To get your design components into Jitter, you just need to select the frame, go to the Figma menu, and select the Jitter plugin. We’ll show you how to do this below, but if you prefer video, we’ve got a simple walkthrough here:
From the Figma menu, you’ll see the Jitter plugin. It's honestly one of the best plugins to add animation in Figma and the designer's community loves it. Click that.

The export process can take a while, but when it’s done, you’ll see a button to open in Jitter. Click that and you’ll be taken to your Jitter account with a new artboard. If you don't have an account already, you can create one now.
Customize your Figma animations
Now that we’ve imported our Figma design file, we need to figure out what we’re going to animate.
Use presets to add animation in Jitter in 10 seconds
For the sake of this tutorial, let’s animate some of the content in the Hero section of the landing page. Find the Hero section in the layers panel of your artboard (shown below). Click the text layer so that we are sure we’re just animating that.

Choose the Animate option, then choose New Animation.

There are a lot of fantastic options here. I’m going to go with a classic in animation— the fade-in.

Customize motion design parameters
When you select that, you may notice that the animation happens too quickly for your needs. No problem. At the bottom of the screen, you’ll notice a blue bar with an indicator representing how long the animation will take to complete. Drag that to the right until you find a good balance. I chose 2 seconds.

See how easy that was? We can do more, though. Let’s animate the two buttons under our Hero text. I think we want this animation to be different than the text animation. So, in the same area where you selected the text for the Hero, select both of the buttons nested under the Hero section.
Now, just like before, click the Animate button in the top-right and choose New Animation. I think I want to see both of these buttons spin in. So, go ahead and choose that animation type.

This will set the animation to begin after the last animation for the text completes. We don’t want that. We want both the text and button animations to happen at the same time.
To do this, grab the blue bars that were added for the button animations (selecting one of them will actually select both since they are grouped). Then, drag the blue bars under your other animation, making sure it starts at the far left like this:

As you did with the other animation, you can drag the right side of the blue bars to adjust the length of the animation. I shortened mine, but you can change it to whatever you feel comfortable with.
Let’s take a look at what our Hero section is looking like now.

This is looking really good! There’s one more thing we should animate. The illustration on the right side of the Hero seems like the perfect thing to add a grow animation to.
Add animations to components from Figma
In your layers panel, click on the Hero image.

We’re going to animate this entire component. So, as we’ve done before click New Animation at the top-right. You should find the Grow in option in there.
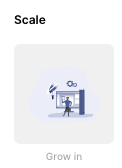
Select that, and then you’ll need to do what we did with the button animations. Drag the blue bar associated with that animation below the other animations and to the far left.
I like the default length of that animation, but be sure to experiment with different lengths to find what works for you. When you’re done, drag the red line to the beginning of your animation panel and click Play. Your entire Hero section should look like one coherent animation even though you are animating different parts with different animation types.
What can you do now? You can use this to help build out your actual application, but that’s just inspiration. If that’s all Jitter could do, it would already be awesome, but Jitter does a whole lot more.
Editing Figma design in Jitter
In addition to animating your content, you can actually edit the design that was imported into Figma. Let’s say, for example, that you wanted to create a nice GIF of your animation to use for your Product Hunt launch. Well, that means, there is a lot of content we won’t need. Let’s first delete everything we’re not using.
Create an animation for your Product Hunt launch
In the left-side panel, select everything besides the Hero section under your main 'Landing Page-2' container. Right-click, then choose delete. You will be left with a long, empty page except for the Hero section. Now, choose the Design option at the top-right. Then, scroll to the bottom of your design. You can select and drag up from the bottom to reduce the height of the design to match just the height of the Hero section.
After I’ve done that on my design, this is what I’m left with:

Now, all that's left is to export the animation. Product Hunt supports both GIFs and videos. I think I want to export this as a video that I will upload to YouTube. To do this, click the export button in the top-right, then choose the quality of the export.

You’ll be taken to a page that shows the process of the video being created. When it’s done, you can download the video file to your computer. If you want to then upload it to YouTube, you can do so without a problem.
I also decided to do a gif export so I could include it here. So, here’s the final product in gif form:

In just a few minutes, I was able to take a Figma design and animate it. This is so powerful. Imagine the things you can animate. Social media posts, marketing material, website assets, and more. What used to take hours and tons of expertise can now be done in just a few minutes by even the least technical people.
Ready to start adding motion to your designs? Sign up for a Jitter account today!